Tag Archives: pickles

rainbowbowl4

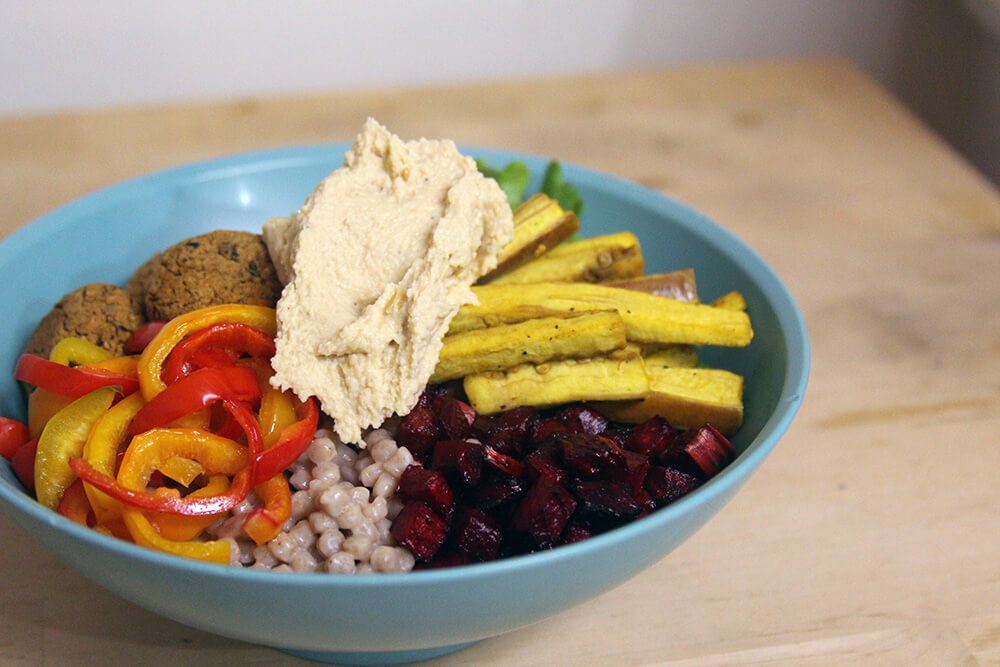
I love a good bowl. I don’t eat them often, as I tend to be the type of person who just makes one big dish. Curries, chilis, soups, stir-fries, and casseroles are more up my alley. But truthfully a well balanced vegan bowl is easy to do, especially if some prep work is done before hand. For example, I use already prepared hummus, some frozen protein balls I’ve made earlier, and the eggplant was pickled a few days earlier. All I had to do was pop everything in the oven and cook the couscous!

rainbowbowl1

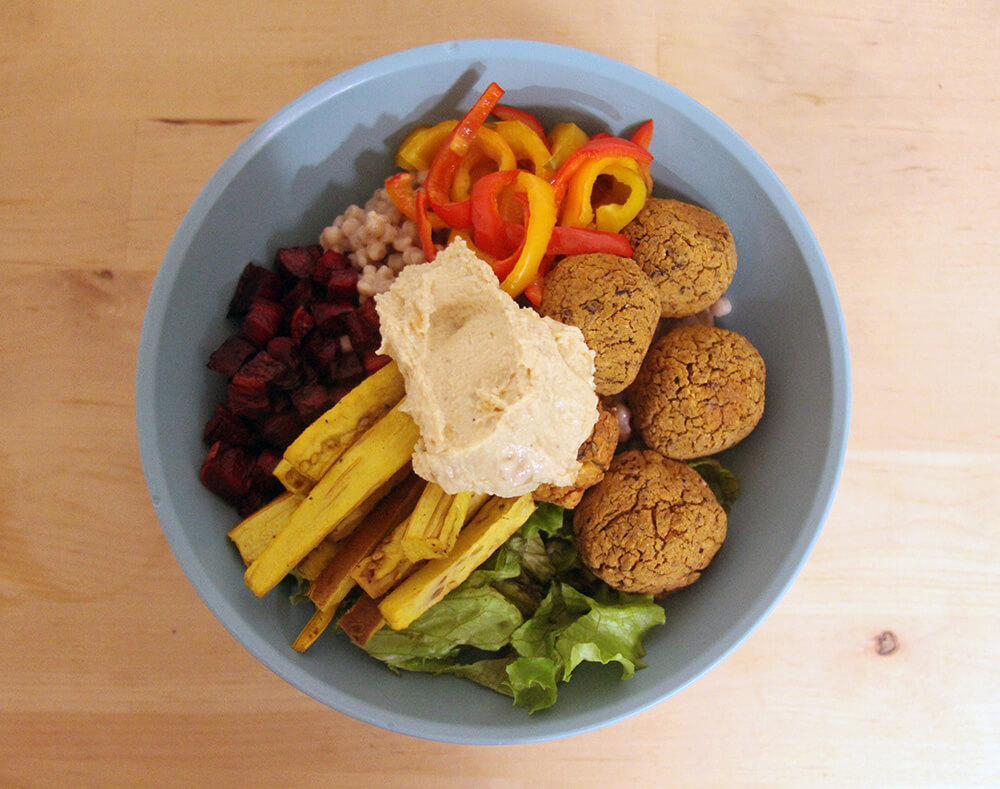
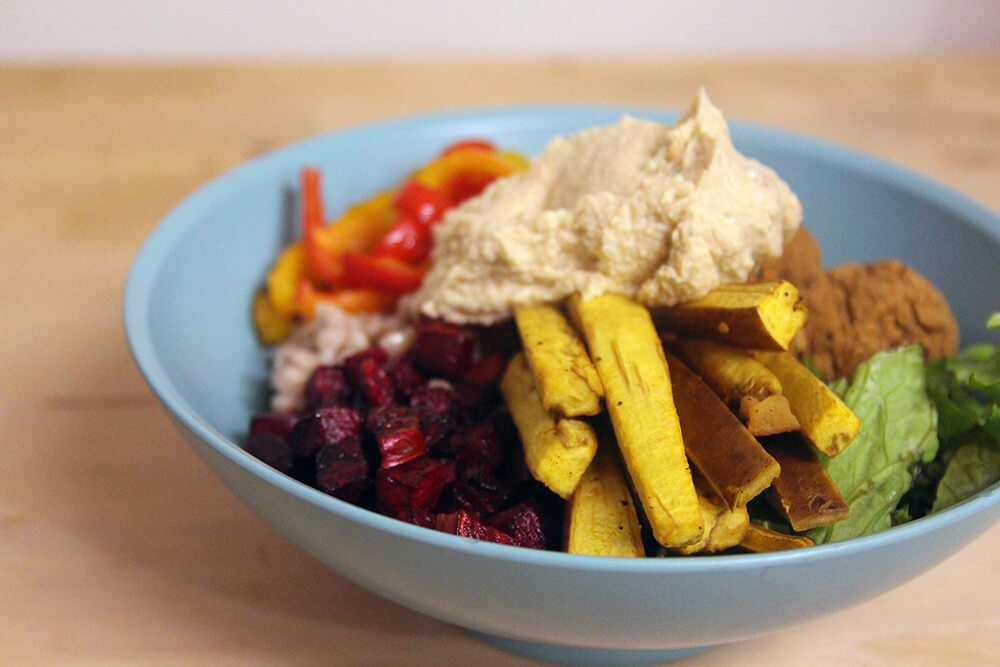
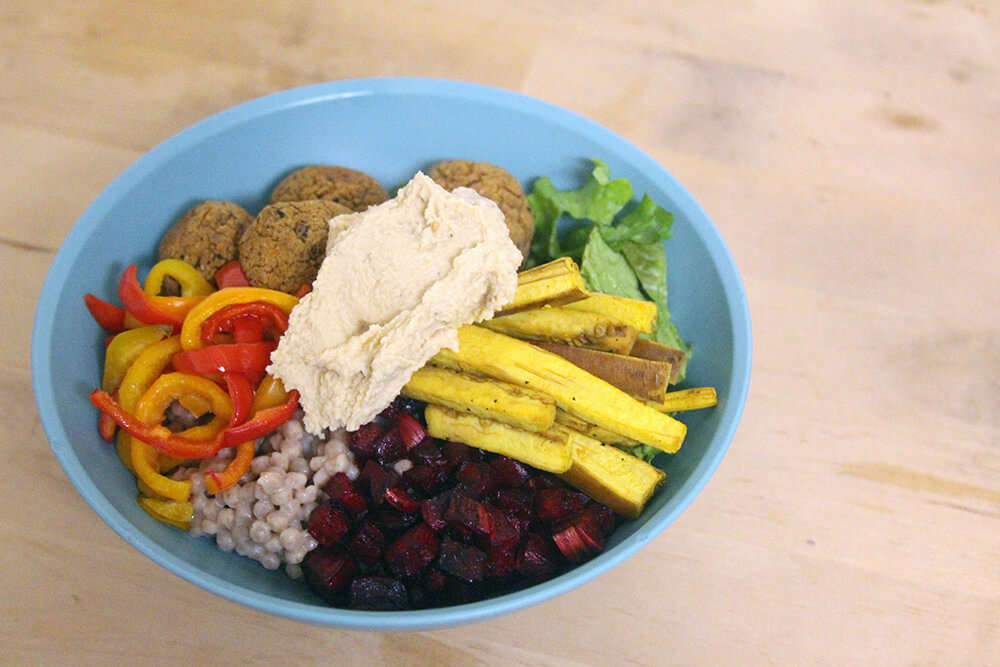
Funny thing is that making a dish with as many colors in the rainbow can be hard. But I tried my best here using all produce from my CSA. I love being able to eat a dinner that is almost all from the same place. So what is what in the rainbow?

  • Red & Orange: bell pepper, last of the season
  • Yellow: pickled turmeric eggplant (again last of the season)
  • Green: green leaf, arugula, and radish greens
  • Blue: the bowl- duh!
  • Purple: roasted beets
  • Brown: hummus & chickpea beanballs
  • White: Pearl Couscous tossed in soy yogurt

rainbowbowl2

Overall, it took about an hour for dinner to cook, but there was a lot of down time. The beets that took the longest to roast. It might take longer than an hour if you choose to make your own hummus and beanballs/falafels. But I strongly suggest making doubles of a falafel/beanball recipe and freezing the extras for bowls like this.

For anyone who is wondering- you will need to prepare the eggplant two days ahead of time. I am a big fan of this refrigerator pickle recipe, and it is a great way to preserve some extra eggplant from the summer. If you aren’t a huge eggplant fan, this really alters the taste and the traditional mushy texture. I personally used Wegman’s brand hummus, just the good old classic hummus, though you could go for any flavored hummus if you like. And finally the balls were the Chickpea Eggplant Hemp Veggieballs from Protein Ninja. But there are lots of falafels now that you can find in the freezer section, like Trader Joe’s.

rainbowbowl3

Continue reading


pickledpeas0

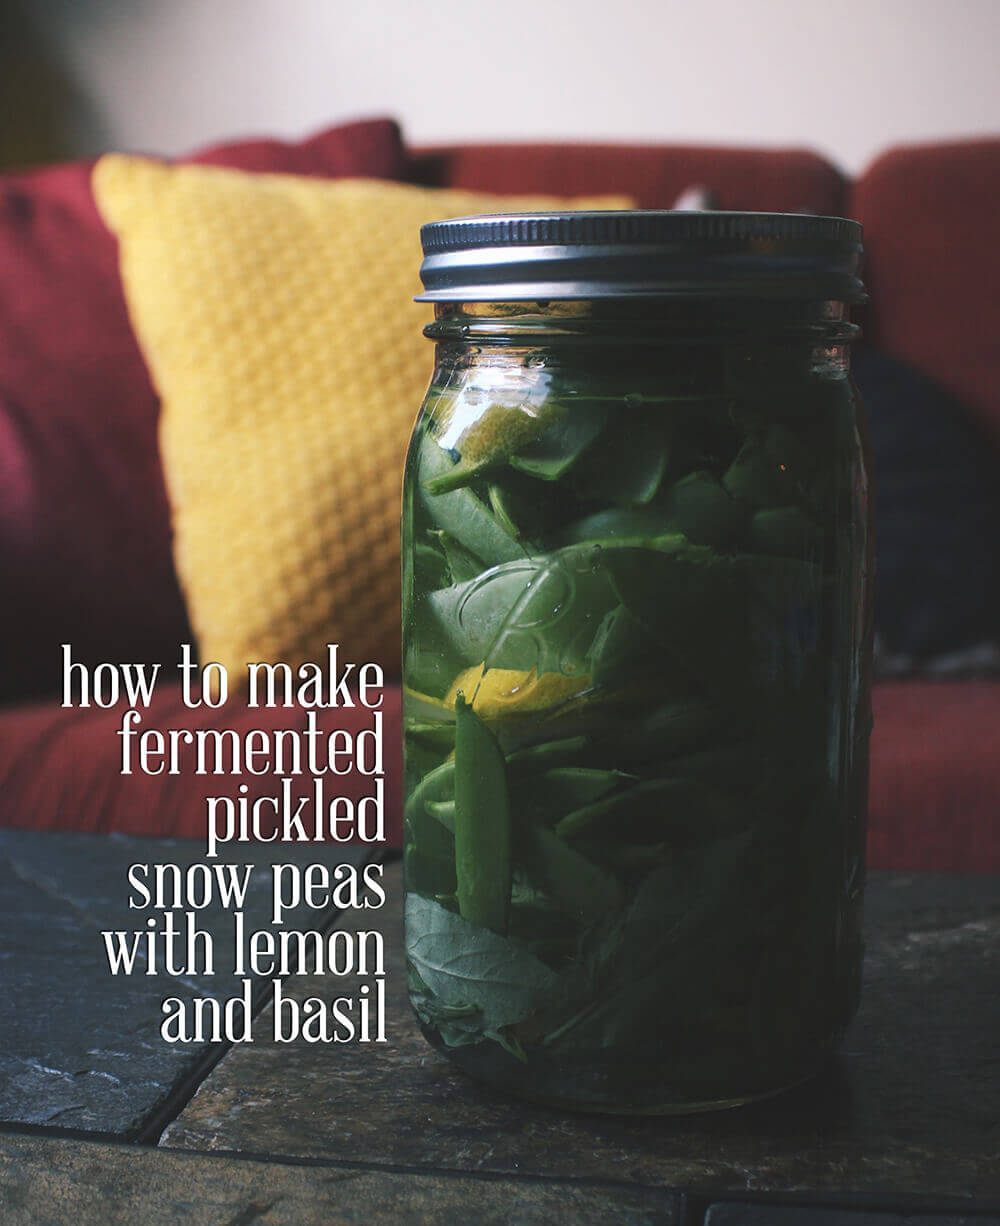
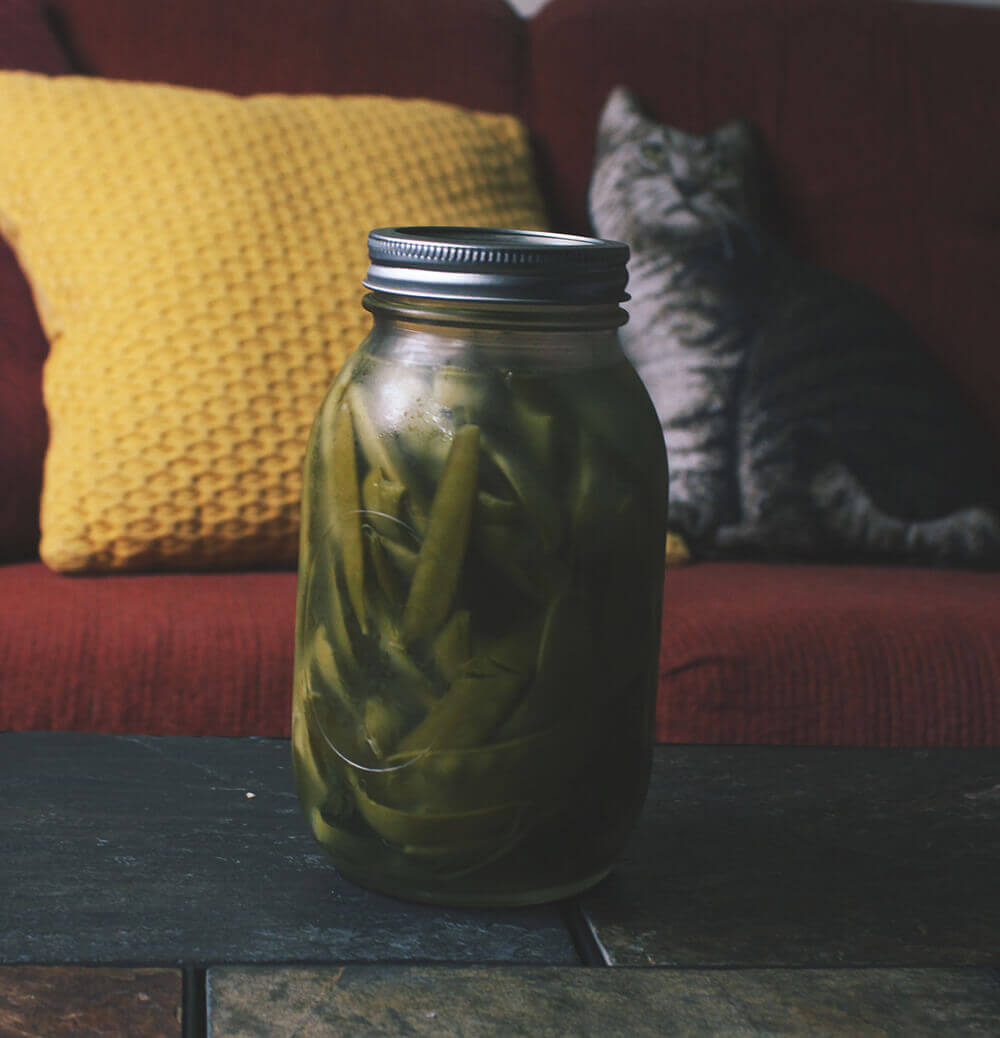
I love snow peas, but there are really only two ways I eat them- stir-frys and pickled. I know pickling snow peas isn’t a common thing. The reason I bothered to make them was because my husband and I would come home with bags full of peas from our CSA. Although they were tasty, my husband kind-of put his food down at the idea of eating stir-fry dinners all week. So I took the extra snow and snap peas, cleaned and trimmed them and put them in a brine. 

pickledpeas1

I wasn’t trying anything fancy or nice, just trying not to waste food. Turned out that my husband loved the pickles with his lunch, and a lot of his co-workers raised their eyebrows. Pickled snow peas? I find that brining them for three days results in soft peas with just enough crunch to them. They are sour but sweet. Really, they are amazing.

pickledpeas2

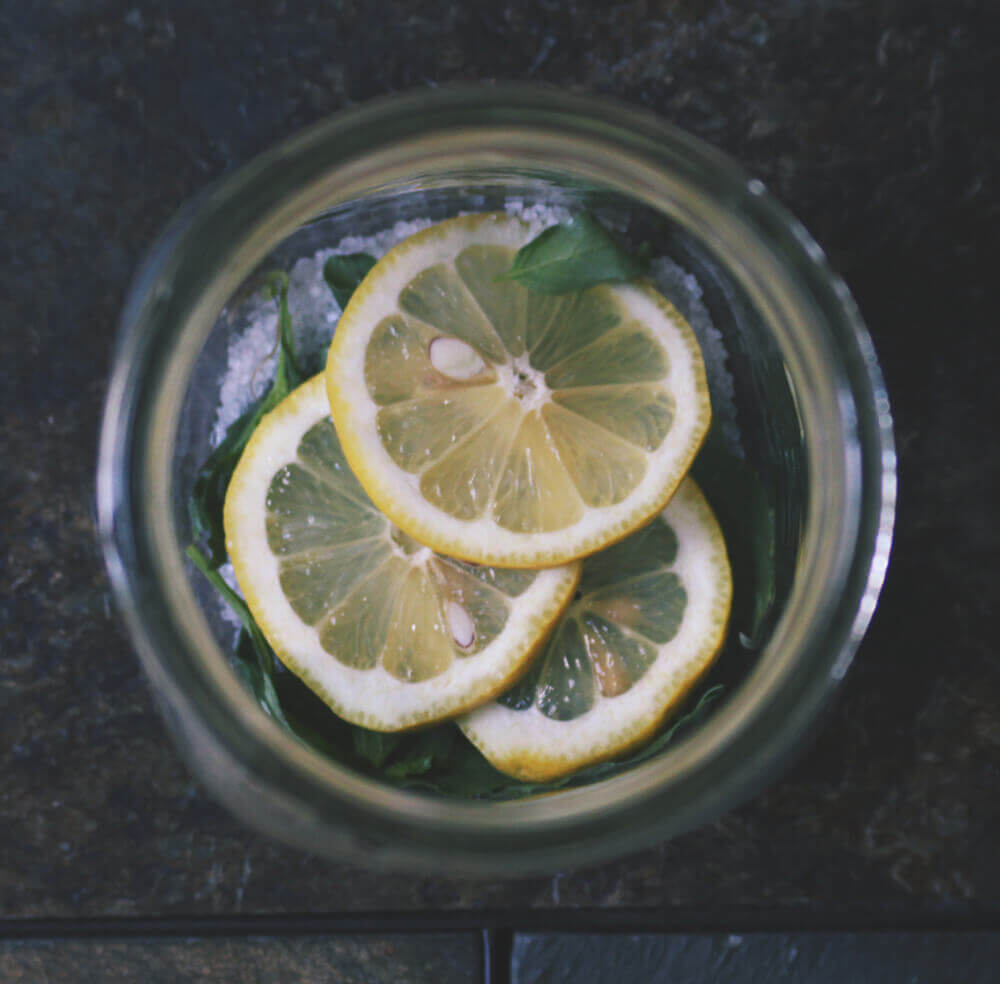
Usually I stay away from “traditional” pickling spices with these guys. I take advantage of the seasonal produce, and use the basil that is in season and garlic scapes. This batch I included some lemon slices, which was a nice addition. With brined pickles you want to keep citruses to a minimum because the acid can overwhelm the naturally occurring bacteria that keep your peas preserved.

pickledpeas3

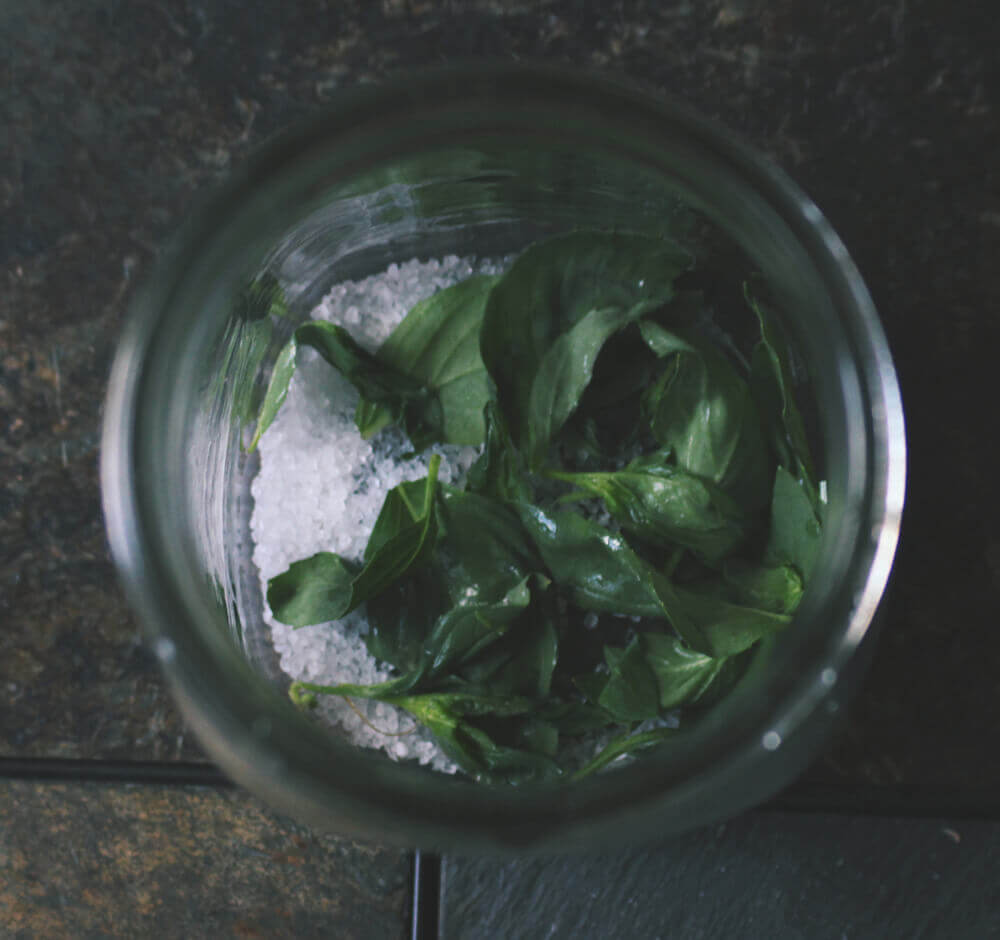
The process is similar to making sauerkraut or kimchi. Salt, water, and bacteria are your main forms of preservation. Basically all you need to do is mix water with salt and add the veggies. The vegetables naturally have the bacteria needed to start fermenting. The cool thing is that each vegetable will have unique strains according the town, state, or country that you live in. After a certain point, there is so much of the good bacteria that it overwhelms the competition. 

So why salt and water? Well this is a bad environment for most bacteria. The salt kills off molds, and the water prevents any oxygen for most bacteria to live off of. If there is mold that grows on the surface, just scrap it off, and the pickles should be fine. But this really hasn’t happened to me outside of really long ferments. 

pickledpeas4

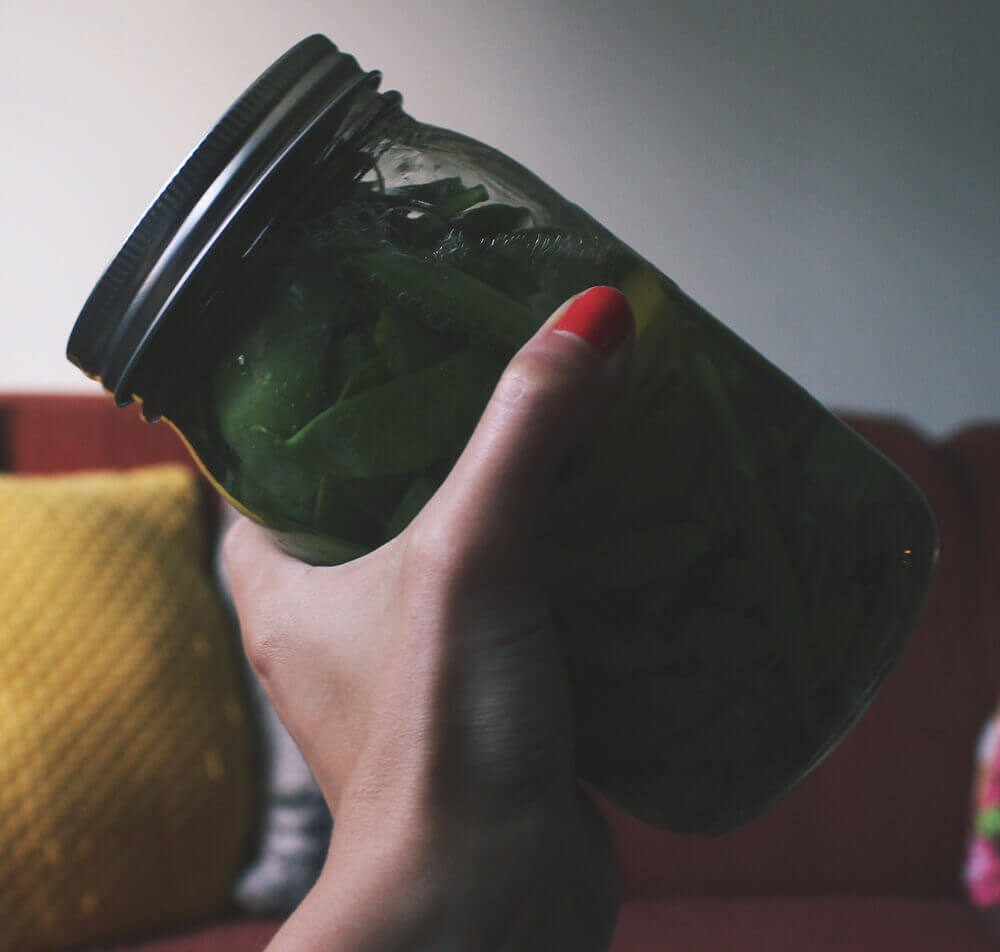
As mentioned before, I only ferment these for 3 days then I pop them into the fridge. They will continue to ferment but the cool temperatures slows down the process. You could leave them out at room temperature, but I would recommend shaking the bottle once each day to prevent mold from growing on the top. Plus over time your peas might get mushy from fermentation.

If you have dabbled in other kinds of fermentation like yogurt or kombucha, pickles should be a cinch. They are the safest and easiest form of fermentation. It is kind-of a bummer that it has become more popular in the US to do high acidic jarring over salt brines. These are so simple and easy to make and have great bacteria for your tummy.

pickledpeas5

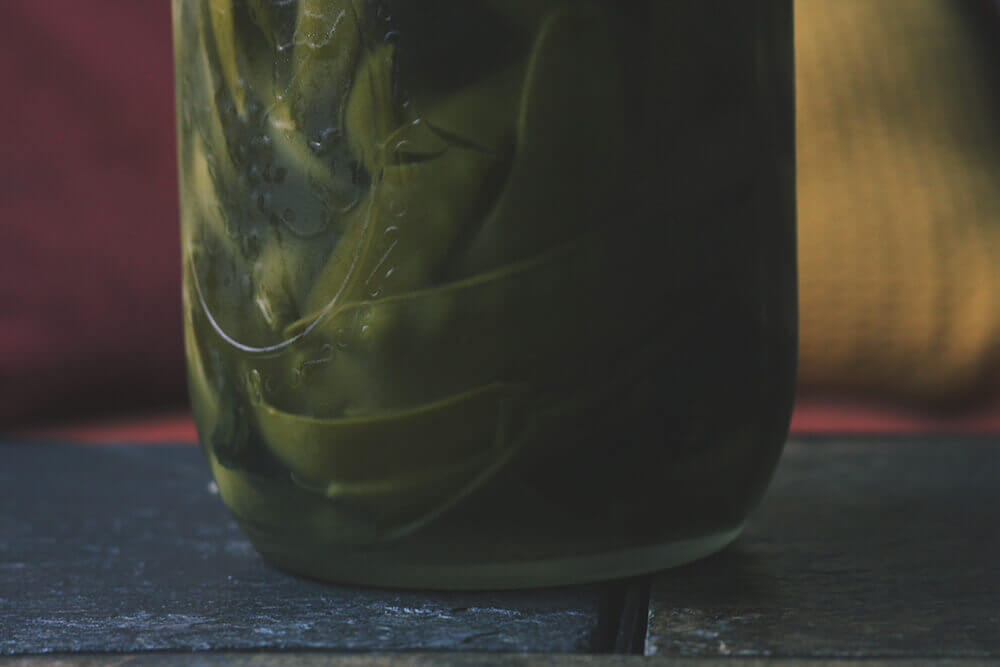
Last note- if you compare the top photo to the bottom photo you will notice a change of color. The top photo is of the peas in the beginning and the last two photos are of the fermented pickles. They get a little more yellow and lack a certain vibrancy.

If you are worried about the food spoiling instead of fermenting, look for bubbles. The bacteria produces gas byproducts so you will see little bubbles get trapped in the veggies. This is also why you never want to fully twist the top on jar unless shaking the bottle up. Continue reading


asksnanswers

Alexa is working toward a vegetarian diet, and is loaded with questions. Jennifer’s got answers. We talk about anything as long as it is vegan. Are tattoos vegan? How do I politely not eat Thanksgiving dinner? How do I order without pissing off the waitress? We know you are dying to ask!

asksalexaI was recommended to eat Greek Yogurt to help with some harsh side effects of my medication, but dairy makes my tummy hurt. What are vegan options with probiotics?

Well, a fast an easy answer would be to eat vegan yogurts, but I think you deserve more options. I will go and breakdown all your options, but most might involve some personal kitchen time. You see, all those yummy probiotics in yogurt are just are a bi-product from fermentation. So I will list a few types of vegan ferments that are fairly easy to do at home. 

Quick notes- if this little post really interests you I would recommend picking up The Art of Fermentation. The book is pretty much a dictionary of fermentation styles, and will go into details about practices in certain regions. For example the chapter on pickles goes into details of different type of pickling in India, Japan, mushrooms, fish, etc. The book lacks lots of specific recipes, but gives you guides, giving you lots of wiggle room with the dishes.

There is also some basics with all type of home-ferments. Some guides seem scary and long, but most just reiterate some basics. Wash hands during preparations, wash and clean everything thoroughly, make sure all soap and sanitizers are rinsed off, and all cultures are living things. Think of them like plants, you need to take care of them, and you oddly start to like them, at take photos of them when they do cool stuff.

There are also more vegan ferments, but I didn’t list them because you need to apply heat to eat them. Some example would be sour dough, tempeh, fermented grains, etc. By adding heat, the probiotics really won’t do much for you.

Vegan Yogurts

The quickest response to a vegan yogurt option is a soy yogurt. These are now pretty widely available at supermarkets, though the price tags are still pretty high. They usually have live active cultures, but tend to have lots of added sugars. You can make your own homemade vegan yogurts, but it can be tricky. You need to keep a consistent 110 temperature, which is why some people buy yogurt machines. You will also need to buy a yogurt culture, which I am never thrilled about. Modern yogurts have mediocre yogurt cultures, and will only live so many generations before having to buy more cultures. Belle+Bella have a non-dairy yogurt starter, if anyone is interested in making yogurt at home.

Don’t want to make your own yogurt? Most stores have big containers of yogurt in plain or vanilla. I recommend grabbing one of those and mixing in granola and fruit for flavor. Want greek yogurt? Take regular store bought or homemade yogurt and strain through a cheese cloth to separate more of the water from the yogurt. Voila! Your done!

Step-by-step Instructions: Waking Up Vegan

Vegan Kefir

You might of heard about this yogurt alternative- kefir. I haven’t seen any dairy-free kefirs in stores, though there are some commercial coconut milk kefirs. So you will have to make some for yourself at home. The plus is that vegan yogurts have a hard time thickening due to low protein levels (and homemade yogurts are thinner than what we are use to, thickeners added to both vegan and dairy commercial yogurt). So consistency will be more similar to the original product.

Unlike yogurt kefir is a lot less fussy. You don’t need to monitor the temperature, and naturally has a thinner disposition. The downside is that kefir grains (the culture) really enjoy cows milk, not vegan milks, so they need to replaced after awhile.

Step-by-step Instructions: Chickpeas and Change
Note: She includes how to make nut milk, you can skip these steps if you use store bought milk.

Water Kefir

Unlike making vegan kefir, water kefir is a lot more stable. Get kefir grains once and they can last a lifetime if taken care of properly. Water kefir is made from sugar, dried and fresh fruits. Most people describe it as a probiotic soda, and there lots of wiggle room for flavor since you can switch the fresh fruit around.

This seems like a pretty low maintenance sort of culture, and would recommend to anyone who wants fresh probiotics with little work. There are two steps to the brewing process, and with some planning you can get two brews rotating (as shown in the tutorial below)

Step-by-step Instructions: Bonzai Aphrodite
To Buy Cultures: Amazon

Continue reading