It’s been a hot summer, and it really has been a damper on my desire to bake lots of cakes and pies. Ouch. But that doesn’t mean I wasn’t busy in the kitchen. Nope. I’ve just been busy exploring other parts of American desserts- candies. I am not a big candy maker, but I do have fond memories as a child of buttering my fingers and cutting hot sugar and rolling them into hard candies.
The first candy I was happy to feature on the blog doesn’t use melted sugar. It is a very simple candy to make, like most American candies, but has an ingredient that is unexpected- potato. I’ve made them twice before, once from a vegan recipe from Homestyle Vegan. I’ve simplified and more readily “veganized” the recipe today. But… let’s take a step back- What is a needham? Where are they from? And what’s the history?!
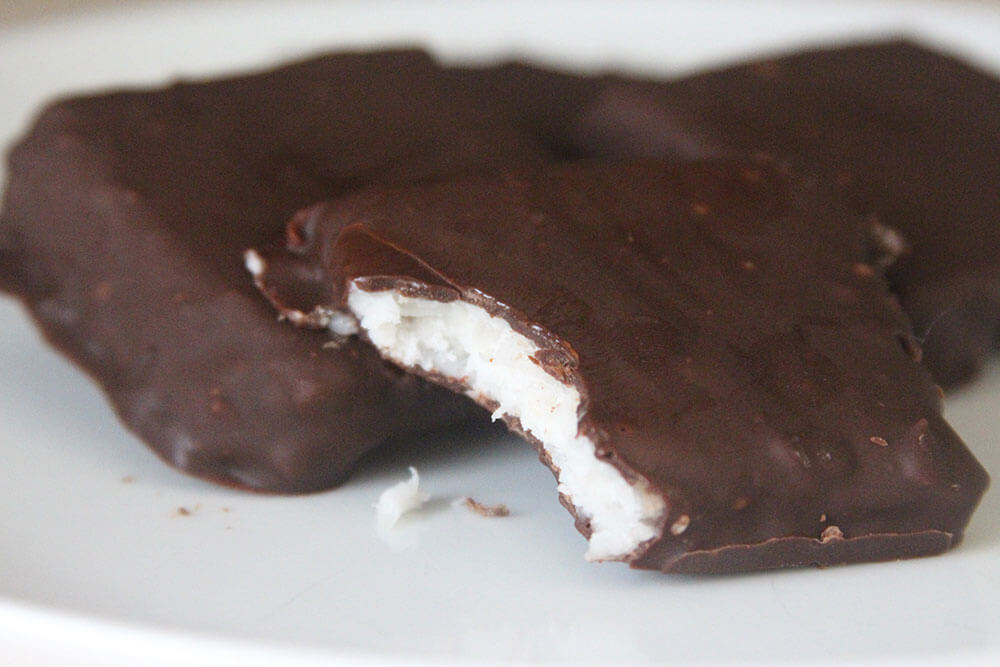
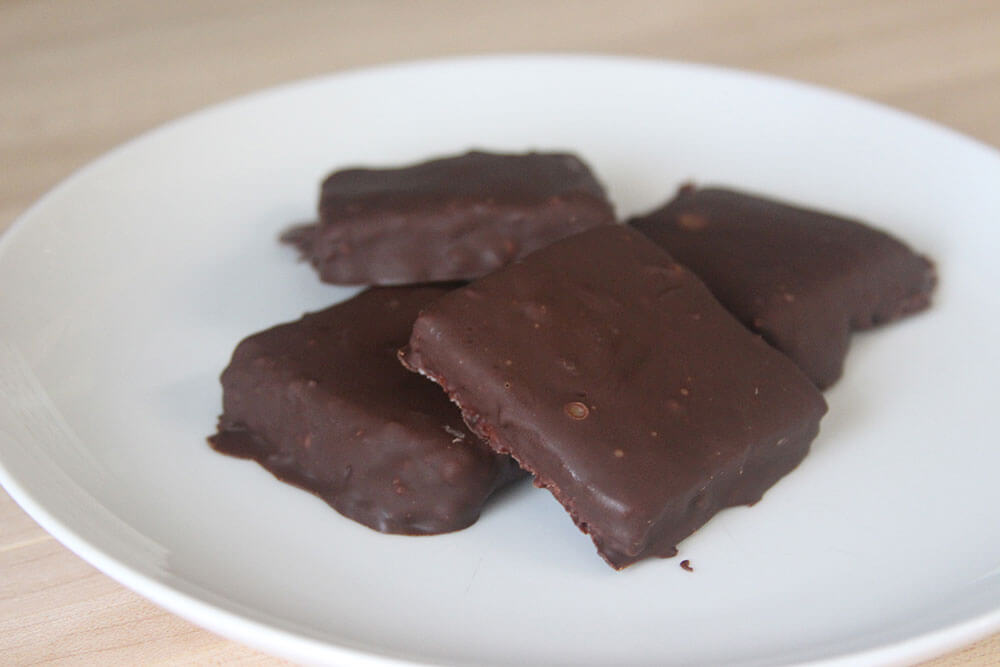
Well, a needham is made with sugar, coconut, mashed potatoes, and butter. They are cut into squares and coated in chocolate. If you are an American and never heard of this candy, chances are you haven’t been to the New England area, specifically Maine. This is a local treat that is kind-of overshadowed by lobster, blueberries, and whoopie pies for tourists. But many Maine natives have fond memories of the dessert.
This history of the Needhams. Like all candy it is shadowed in a bunch of folklore. One story tells about a priest who made the candies to increase church attendance. Another story tells about a candy maker who named the candy Needham after a popular evangelical priest in hopes to increase sales. If you need a non-priest storyline, supposedly one year there were “too many potatoes” for crops and a competition was set up to find new ways to eat them. And guess which recipe won- the needham of course! Most historians think most likely there WAS a competition, but it wasn’t because of a surplus of potatoes but because it was set up by a company that sold potatoes. The facts are that the earliest recipes for Needhams go as far back as 1926/1930
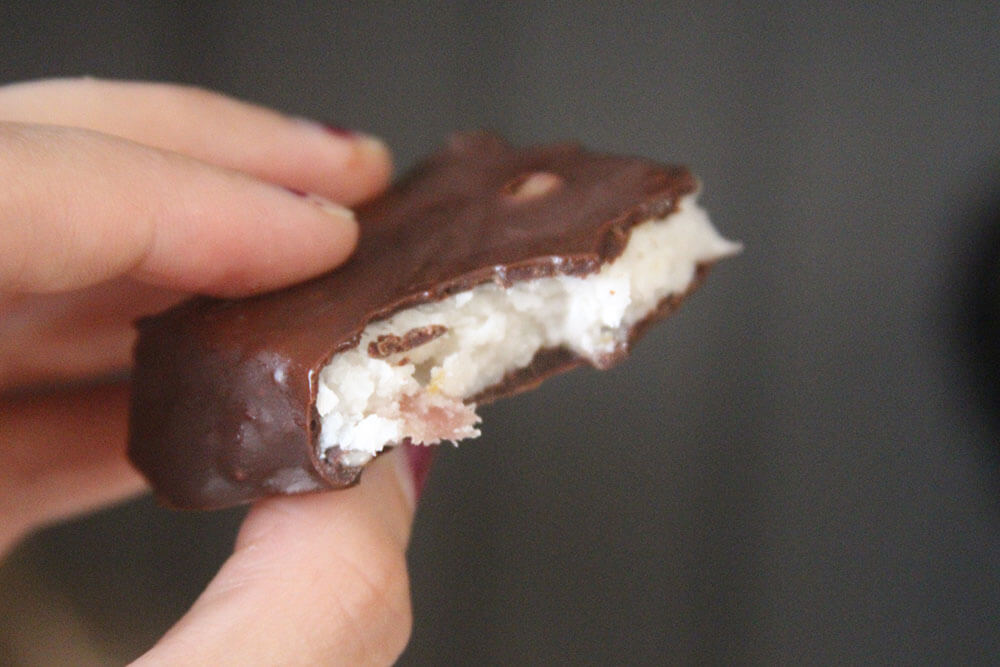
Regardless there is a little something about using potatoes in the candy. It does have some binding properties, making it so you don’t have to do any of the usual candy making heating. Some people claim it cuts down of the sweetness, but I think there is something to be said about the starchy texture in your mouth. If you have time to cover these gems in chocolate give this recipe a go! Don’t be like me who got tired towards the end and just poured the chocolate over the remaining candies. I didn’t include those in the pictures. lol
- 2lbs powder sugar
- 3/4 cup plain mashed potato, warm
- 1/2 cup liquid coconut oil
- 2 teaspoons vanilla extract
- 1/2 teaspoon salt
- 14-ounce sweetened flaked coconut
- 4 ounces unsweetened chocolate
- 1 12-ounce bag semisweet chocolate chips
- 2 tablespoons vegetable shortening
1 Line a 15x10 inch jelly roll pan with a silpat or grease the bottom and sides. Set aside.*2 In a large bowl or the bowl of a standing mixer, add the sugar, potato, coconut oil, vanilla, and salt. Mix on low speed until a thick paste forms. Add the coconut and mix in, increase the speed making sure the sugar is fully incorporated.3 Transfer the mixture to the prepared pan, and press down evenly. I found using a rolling pin helped evenly spread the mixture, then I would use my hands to fill in any hard to reach spots. Place in the fridge to firm up. When ready to coat in chocolate, cut the candies into squares so you get 60 candies (or whatever size you want really.)4 Melt the chocolate in a double boiler until smooth; then remove from the heat and add the shortening, stirring vigorously until shiny. Alternatively you can use a microwave, but I found using a stove is best for coating candies.5 Drop the candy square into the melted chocolate, covering it in chocolate. Lift up the candy using a fork, and gently tap off any extra chocolate. Place on a sheet of parchment paper, or silpat pad. Repeat with the remaining candies.6 Let the candies harden for about an hour. If it is very hot out you may need to place them in the fridge to set. Then enjoy!
* You can make these in any shape you want. I've made some using silicone molds, just note you will change the chocolate to candy ratio and may need more or less chocolate for the coating.


Sarah
These sound amazing!! I definitely have to try them. I love all things coconut! What a fun recipe to veganize.
Julie
Needhams sound familiar, but I don’t think I’ve ever had them, and I definitely wouldn’t have guessed that they included potatoes! Very interesting!
Kelly
I LOVE YOUR THEME! And this is such a fun recipe. I remember seeing a recipe like this in one of my mom’s cookbooks when I was a kid, and being so intrigued.
Jennifer
My Mom said this recipe seemed similar to the coconut creme eggs she made when she was little. Though I am not sure if she used potato
Susan
I have seen a few candy recipes that use potatoes in them, though I have never made any. These sound quite fun! I think potato surely must improve everything?