I remember working at coffee shops right when cold brew really started to become a thing. Every store had their own method. One shop we would purposefully make espresso shots to keep in the fridge so an iced latte wouldn’t be lukewarm. Another shop would intentionally brew coffee to pop in the fridge, and other would take the old coffee and dump it in a jar, making a big mix of old cold coffee. Yum. I pretty much scoffed at cold coffee because of this reason. It was bitter sludgy and nasty.
But as I drifted further and further away from getting free coffee (aka I stopped working at coffee shops), I had to make it at home. I had the bright idea to make cold brew espresso, and suddenly learned to love cold brew. I also learned it is INSANELY easy to make at home. I understand why cold brew coffee is so expensive in store, but it requires minimal work overall.
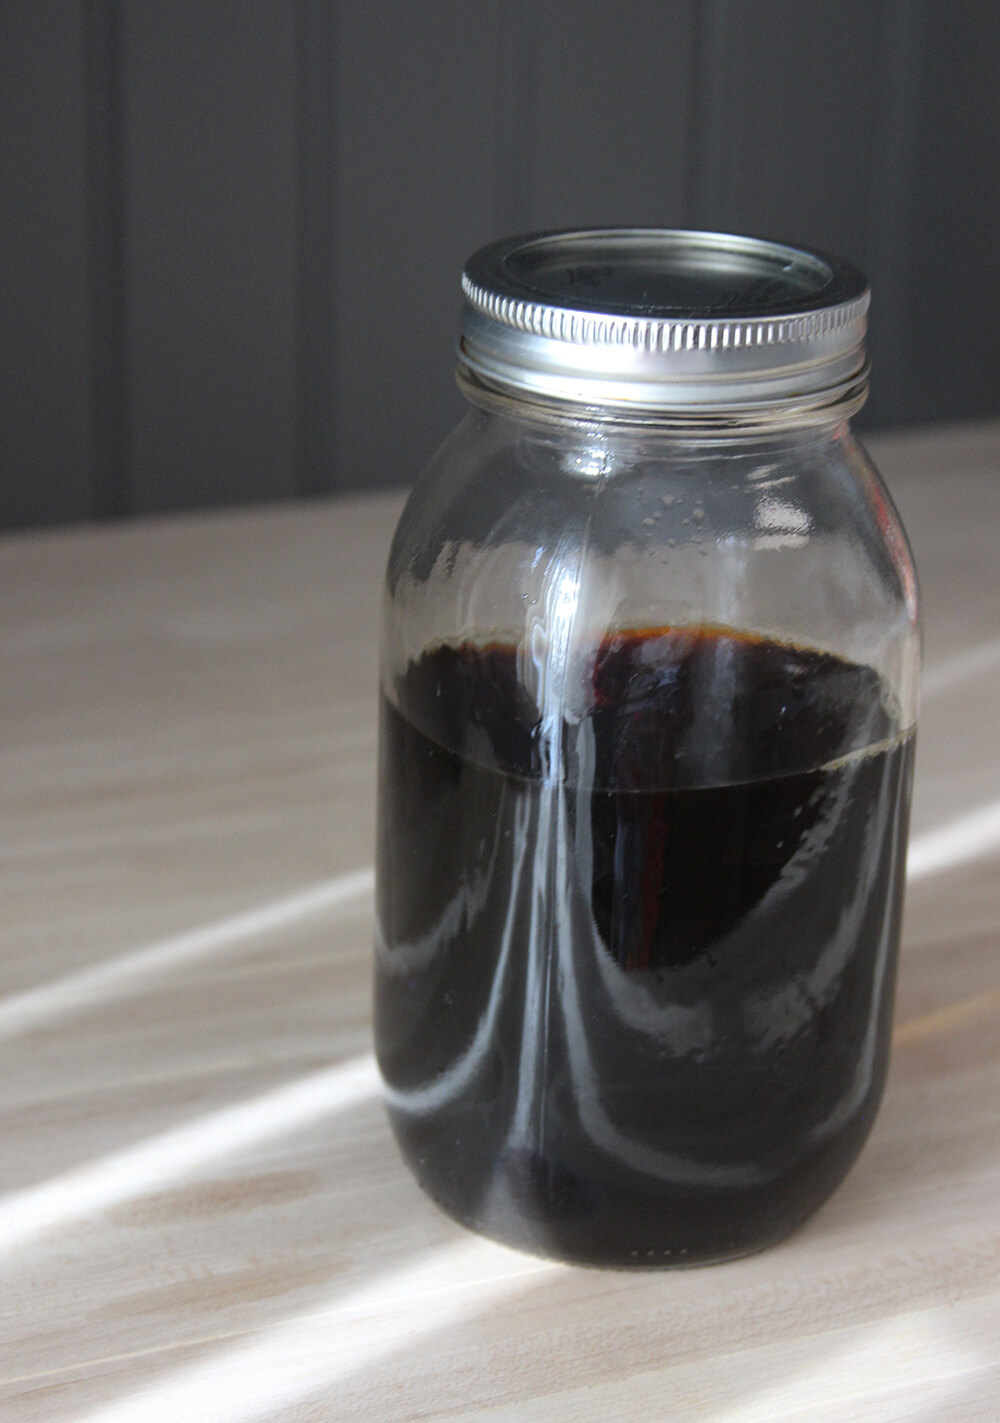
Making a recipe for this is a little silly. I kid you not when I say all you need to do is grind beans, put in a mason jar, add water. Shake. Sit. Shake. Sit. Shake. Sit. Then filter after several hours. Then you have a concentrated delicious mix. I love it because I can add chocolate milk and kind-of get an iced latte.
Since the “recipe” is so simple, I’m giving you some great tips to make sure you have a successful cold brew. Your welcome for saving you tons of money.
Skip the fancy machines (aka the slow drip method)
This is why I didn’t like cold brew coffee in the old days, slow drip machines might look cool, but don’t have as robust of a flavor of more modern cold brew coffees. I remember my Brother-in-law getting a Toddy cold brew system, and not being very impressed by it, especially with it high retail price tag of $73. The coffee lacked some flavor notes from the hot variety, and just wasn’t as robust. I also remember a local coffee shop having this ridiculous and even more expensive hourglass cold brew machine. Sure it might make a great addition to your steampunk decor, but I found it had the same short comings.
So what are the methods to use? We are using the immersion method (if you want to be fancy), but all you need are beans, a grinder (if they aren’t pre-ground), water, and a mason jar. If you can’t wait for hours for your coffee to brew, you can try out the Japanese Method, where you brew hot coffee directly over ice. Alexa and I had this method once in Asbury Park and it was super yummy.
Beans need to be good- but not top notch
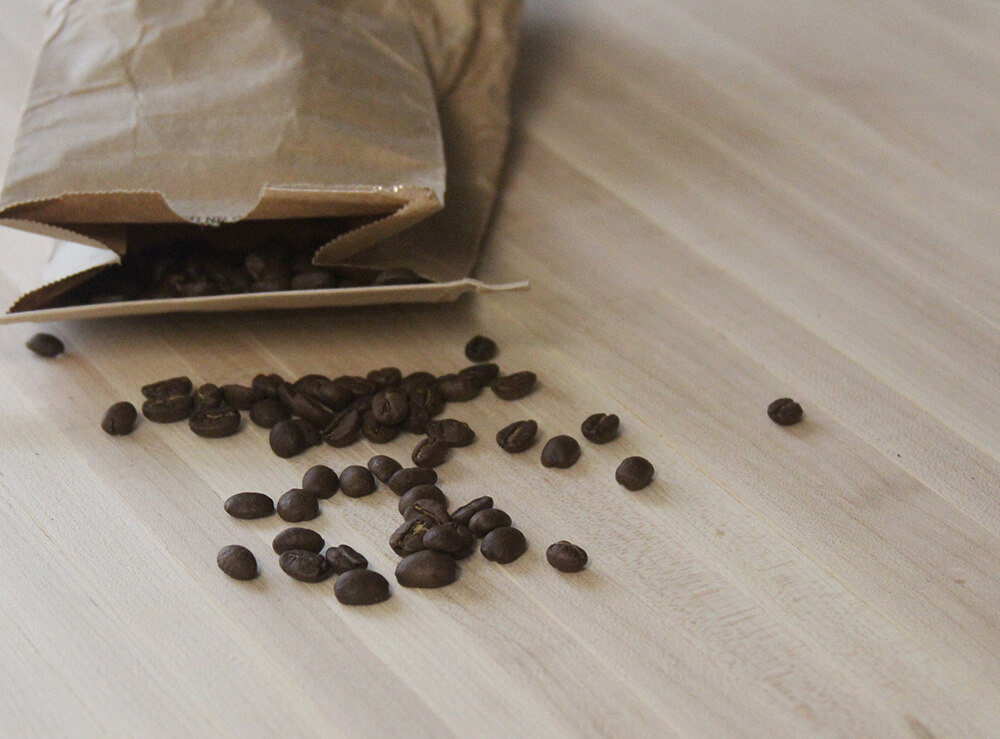
When I told Alexa that I was going to make a cold brew coffee guide, she immedietly said she had go get some good beans. Which isn’t needed. No, you shouldn’t use garbage beans, but the cold brew method is a little more forgiving than hot. Like I mentioned before some flavor notes get skipped in the cold brew method, notably the acidity levels are a lot lower. If you want, use the beans on the bottom of your bag that is a few weeks old, but don’t buy mystery beans off the sale shelf.
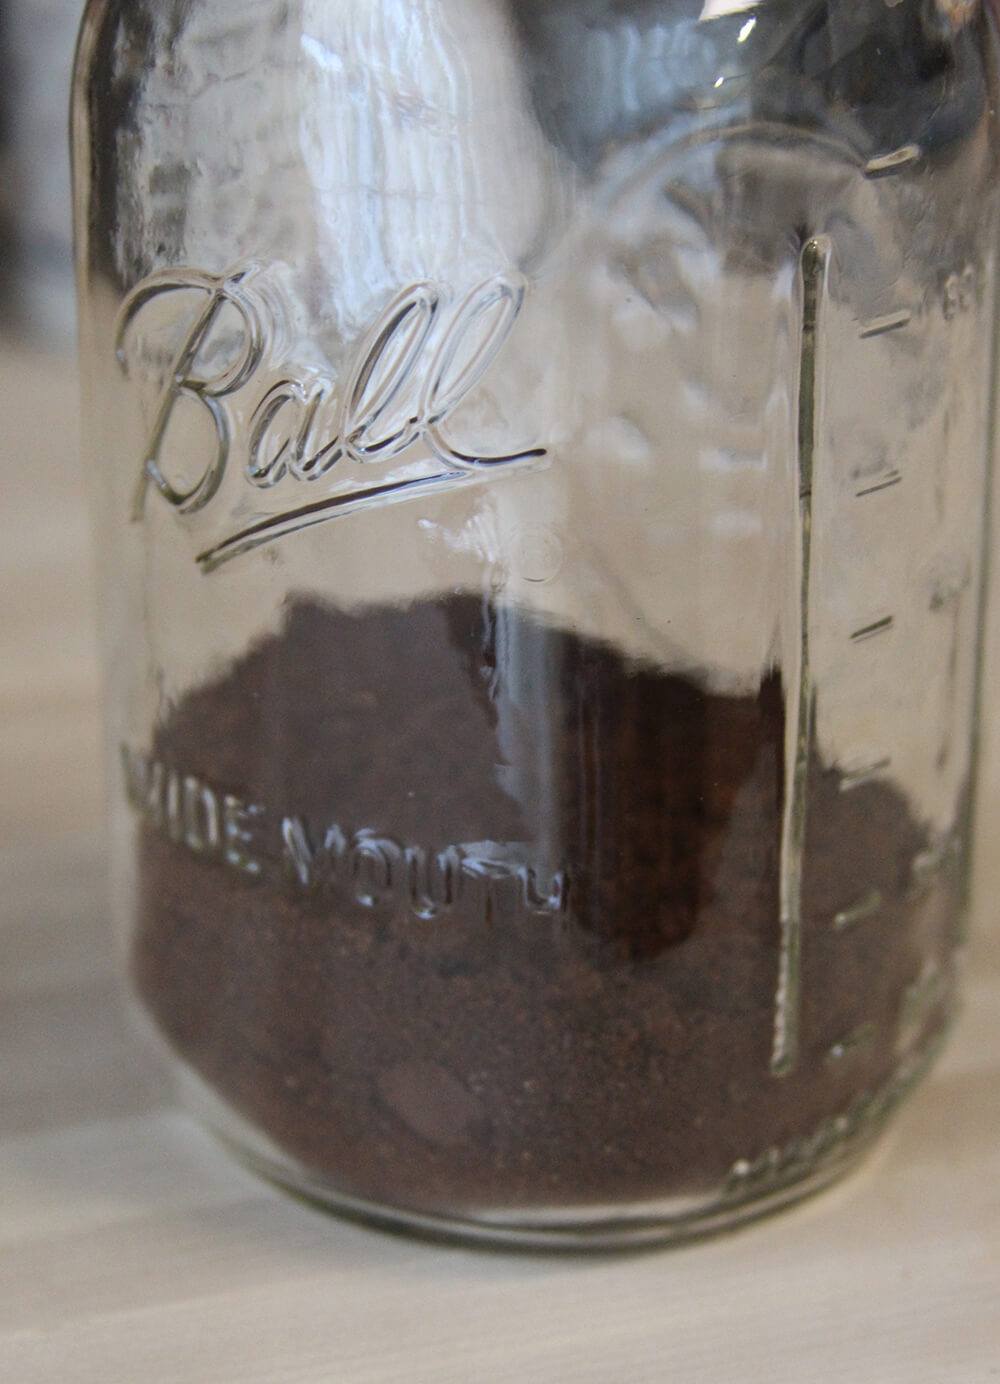
Grind for “french press”
You picked out your beans, and now you need to grind them. Over grinding them will result in a really bitter brew. I like bitter a lot so I am not too torn by this. It is also hard to get an even thick grind when you grind the beans at home (unless you have an insane machine like this) so if you buy a whole bag, grind it at the store or coffee shop. Can’t use it quickly? Freeze it.
How many beans?
The rule of thumb is one pound of coffee beans to one gallon of water. Which, I assume you don’t need a gallon of cold brew. So the more practical quarter of a pound of coffee beans to four cups of water. I’ve seen most people say about 1 cup beans to 4 cups water. To fit in a mason jar I do 3/4 cup beans, 3 cups water.
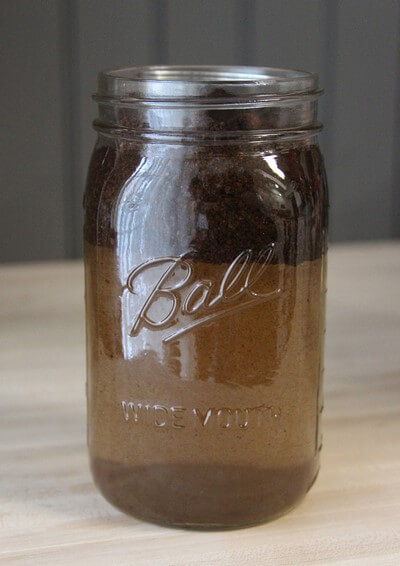
How long will it last?
Cold brew will last 2 weeks in the fridge. How companies make their cold brew last so long in the grocery store, I don’t know. If you dilute the coffee, then won’t last as long.
REMEMBER! It’s strong!
What I like about this method is how STRONG the coffee is. It is double the strength, which means I can add ripple chocolate milk to it, and it is very similar to a latte. So remember to add water to your coffee, or plenty of ice. Or just drink straight, but keep in mind you’ll need a smaller amount.
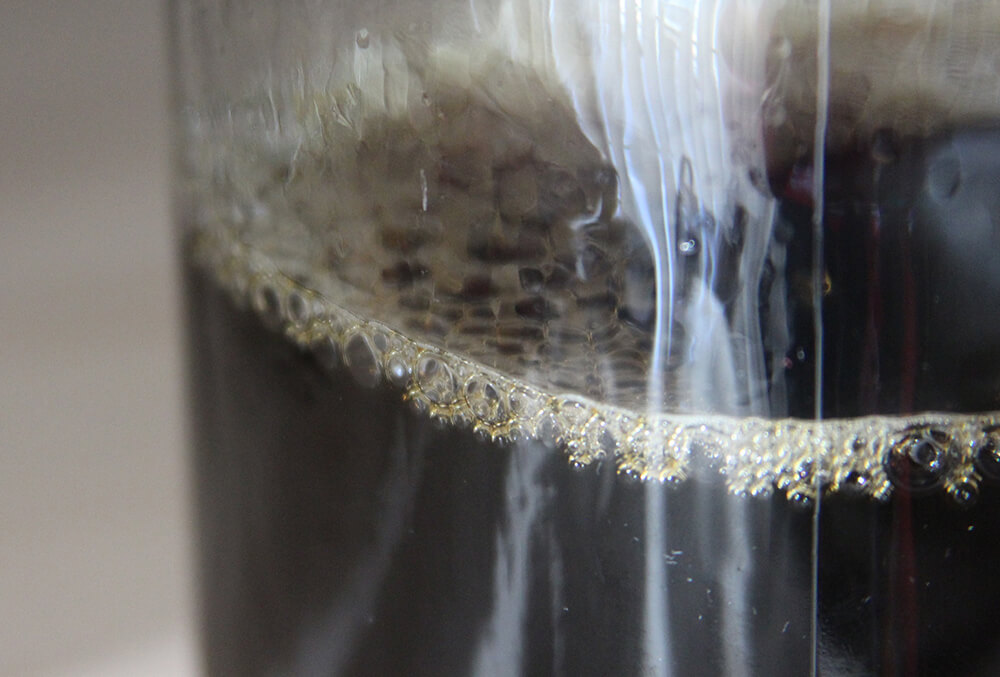
Supplies:
- 3/4 cup of coffee beans (ground for a french press)
- 3 cups filtered water
- 2 mason jars (you can make 1 work)
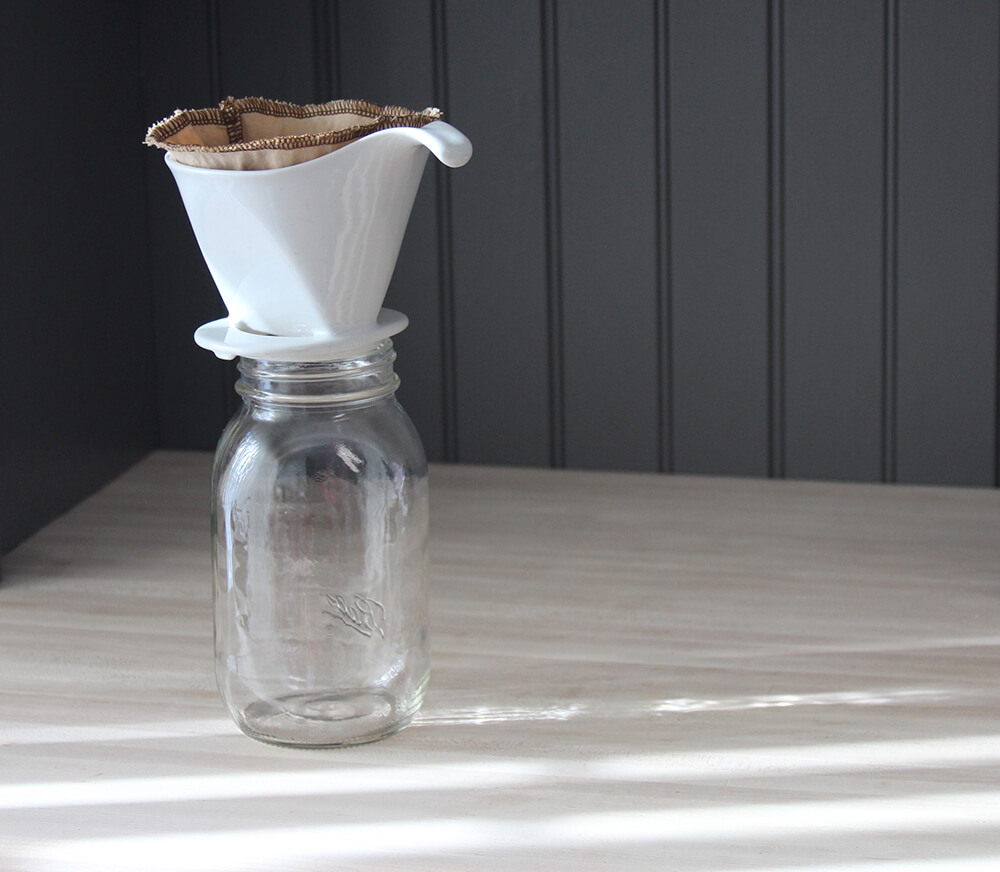
- Ceramic pour over drip OR a funnel OR mesh strainer
- Coffee Filter (I used The Coffee Sock) OR cheese cloth
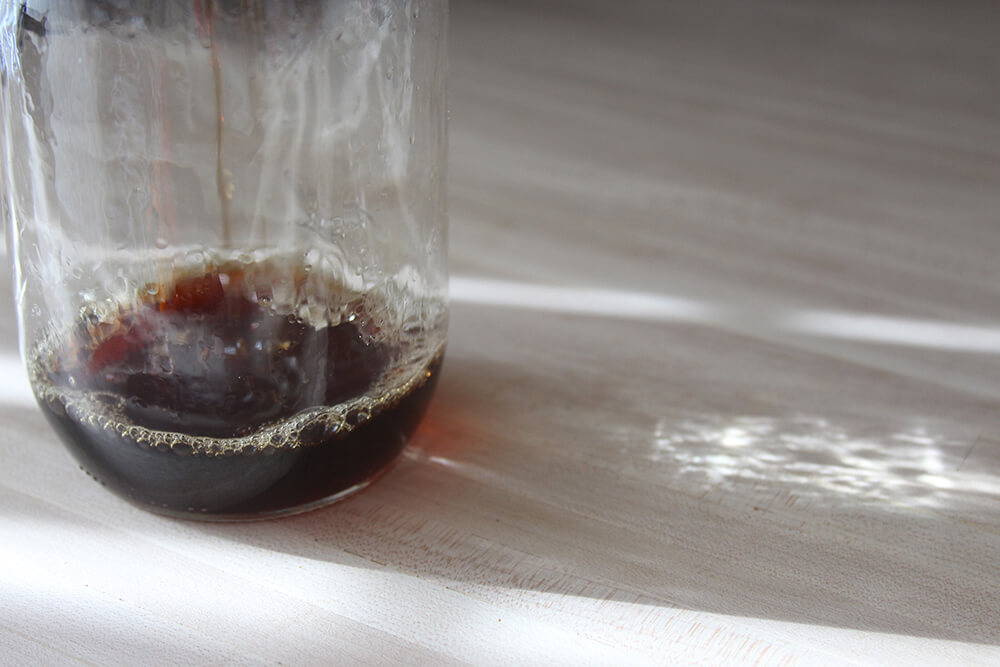
Putting it All Together:
- In a 4 cup mason jar (or you can even use a well cleaned old tomato sauce jar) pour 3/4 cup ground coffee beans. You may want to use a funnel, or make a quick one out of paper.
- Pour in 3 cups of filtered water. Twist the lid on and give a good shake.
- Let the mason jar sit at room temperature for at least 12 hours, nor more than 24. Shake periodically, though it isn’t needed.
- When you are done soaking the beans, take your second mason jar. Set up your ceramic pour over drip, funnel, or mesh strainer over the clean empty mason jar. Line with a disposable coffee filter, coffee sock, or cheese cloth.
- Take the coffee filled mason jar and give a shake to loosen the beans. Pour through the filter into the empty jar. You may need to pour in installments as the coffee drips down.
- If you are using a coffee sock, I like to squeeze out any extra water. DO NOT DO THIS with a cheesecloth or paper filter as grinds can come through.
- Twist a lid on the filtered coffee and place in the fridge. Good for 2 weeks





Susan
I don’t drink coffee (it makes me sick), but I have heard a lot of people talking about cold brew without really understanding what it is. This wa a really great guide!
Sarah
What a great step by step tutorial! I think this is perfect for summer iced coffee! I’ll have to check out the coffee sock too, thanks for the recommendation!
Jennifer
You should try it out. I know cold brew also has lower acidity than hot coffee. I am sure that would help with your acid-reflux
Kelly
<3 cold brew! I'm not usually one for sweeteners/milk (I drink hot coffee black) but mixing cold brew with a few splashes of a flavored alt-milk creamer is HEAVENLY.
Jim
Is there a coffee sock alike alternative?
Jennifer
There are many different alternatives. I use my old nut milk bag now, though you get more sediment on bottom of the jar. There are lots of similar coffee sock-style filter made of cotton (I am sure you could even sew one yourself with a high quality piece of new cotton)
http://tinyurl.com/y43tnm3t (Groove Collaborative)
http://tinyurl.com/yxc4lmou (Etsy Shop Stitch & Brew makes ones for coffee drip OR specifically cold brew)
Amazon sells metal filters, which I am sure you can find in other places as well:
https://amzn.to/2UGT688
https://amzn.to/2Ds68Mf
But you can use just a normal paper or bamboo coffee filter as well.
Frank
In the text you refer to “beans”. Can I assume that you mean ground beans?
Jennifer
Correct