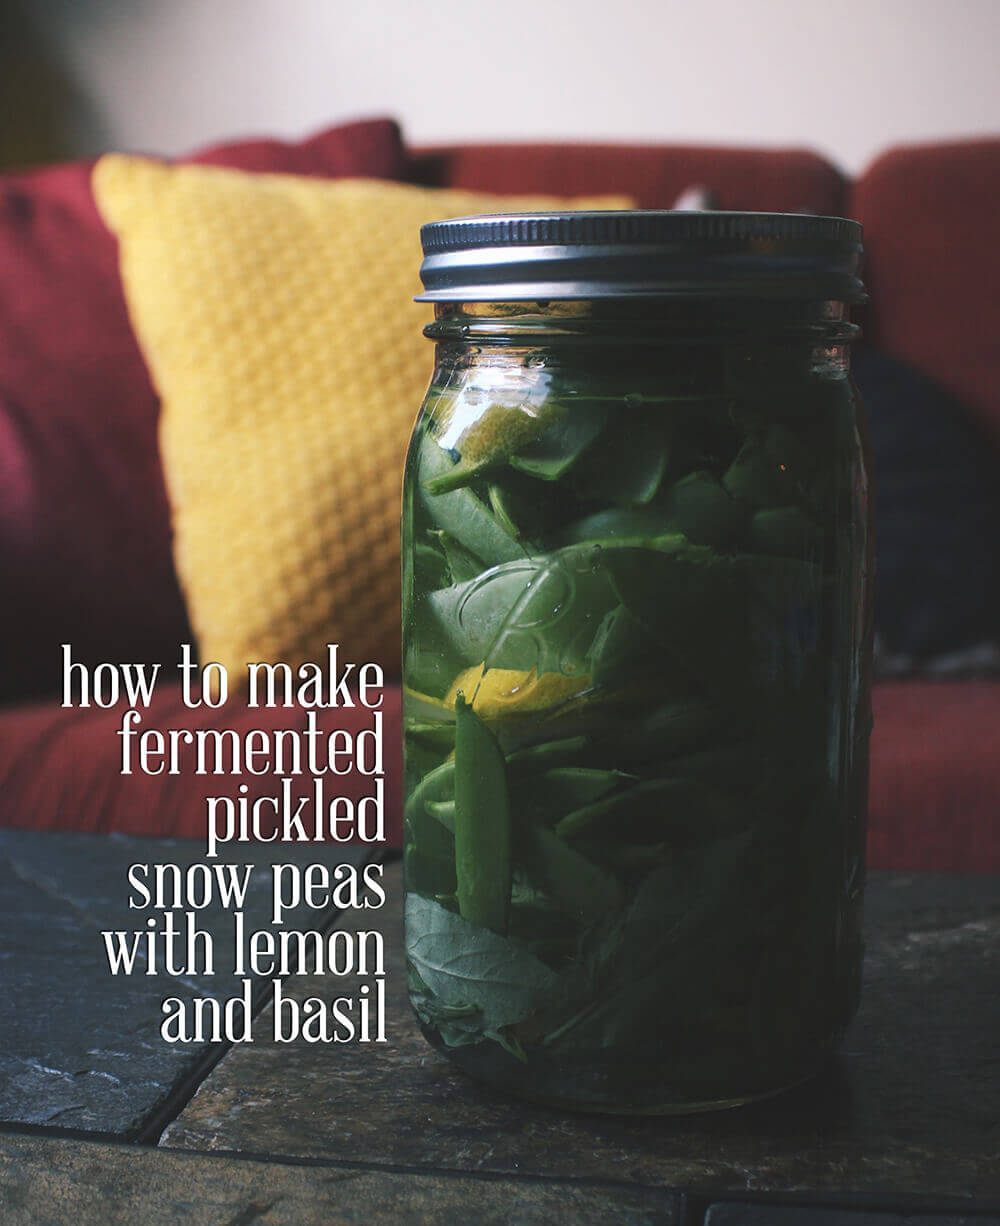
I love snow peas, but there are really only two ways I eat them- stir-frys and pickled. I know pickling snow peas isn’t a common thing. The reason I bothered to make them was because my husband and I would come home with bags full of peas from our CSA. Although they were tasty, my husband kind-of put his food down at the idea of eating stir-fry dinners all week. So I took the extra snow and snap peas, cleaned and trimmed them and put them in a brine.
I wasn’t trying anything fancy or nice, just trying not to waste food. Turned out that my husband loved the pickles with his lunch, and a lot of his co-workers raised their eyebrows. Pickled snow peas? I find that brining them for three days results in soft peas with just enough crunch to them. They are sour but sweet. Really, they are amazing.

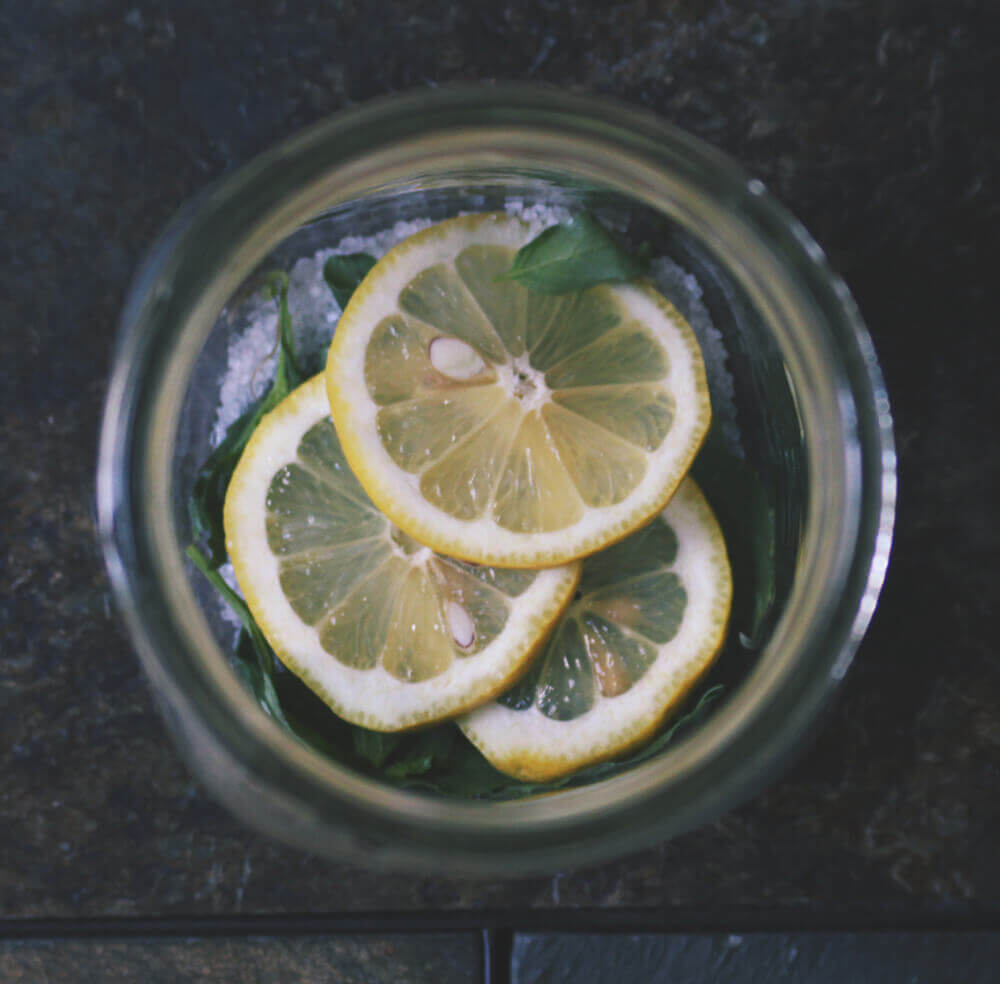
Usually I stay away from “traditional” pickling spices with these guys. I take advantage of the seasonal produce, and use the basil that is in season and garlic scapes. This batch I included some lemon slices, which was a nice addition. With brined pickles you want to keep citruses to a minimum because the acid can overwhelm the naturally occurring bacteria that keep your peas preserved.
The process is similar to making sauerkraut or kimchi. Salt, water, and bacteria are your main forms of preservation. Basically all you need to do is mix water with salt and add the veggies. The vegetables naturally have the bacteria needed to start fermenting. The cool thing is that each vegetable will have unique strains according the town, state, or country that you live in. After a certain point, there is so much of the good bacteria that it overwhelms the competition.
So why salt and water? Well this is a bad environment for most bacteria. The salt kills off molds, and the water prevents any oxygen for most bacteria to live off of. If there is mold that grows on the surface, just scrap it off, and the pickles should be fine. But this really hasn’t happened to me outside of really long ferments.
As mentioned before, I only ferment these for 3 days then I pop them into the fridge. They will continue to ferment but the cool temperatures slows down the process. You could leave them out at room temperature, but I would recommend shaking the bottle once each day to prevent mold from growing on the top. Plus over time your peas might get mushy from fermentation.
If you have dabbled in other kinds of fermentation like yogurt or kombucha, pickles should be a cinch. They are the safest and easiest form of fermentation. It is kind-of a bummer that it has become more popular in the US to do high acidic jarring over salt brines. These are so simple and easy to make and have great bacteria for your tummy.
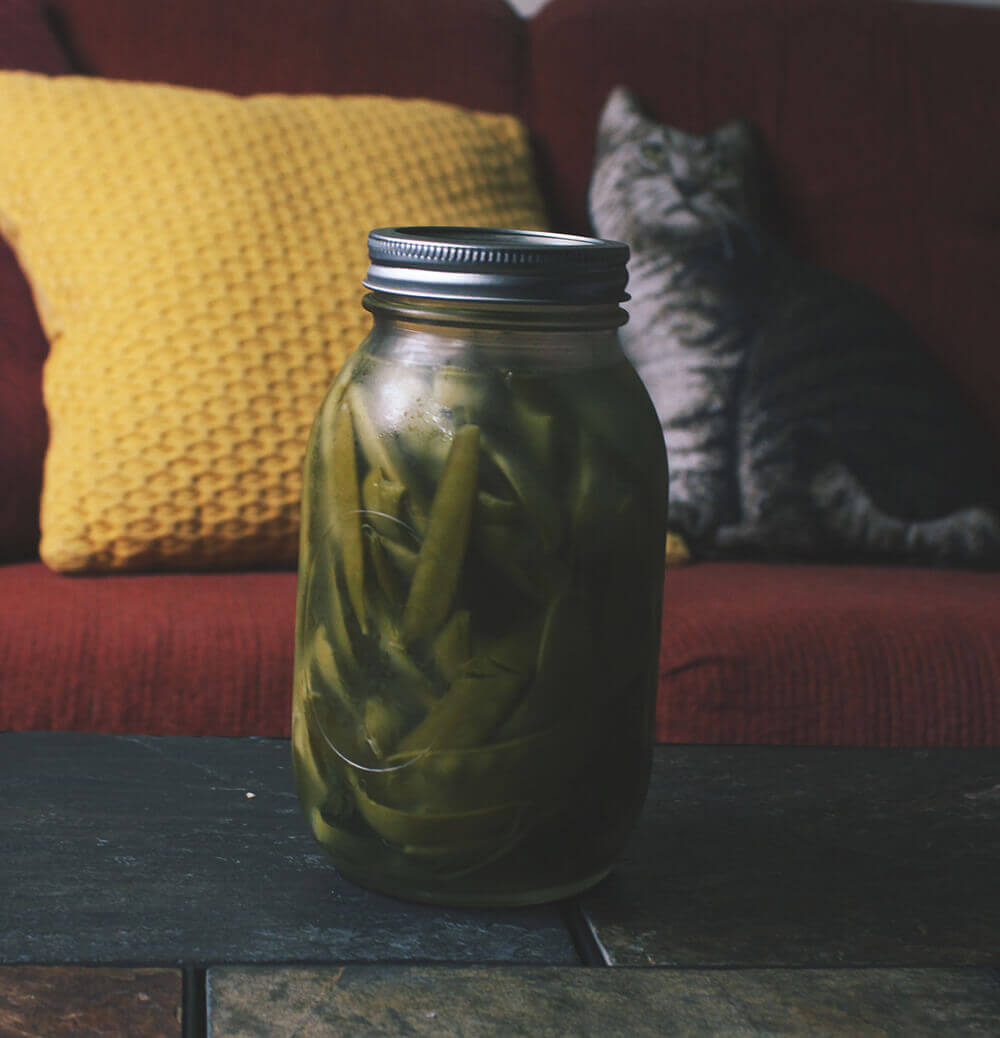
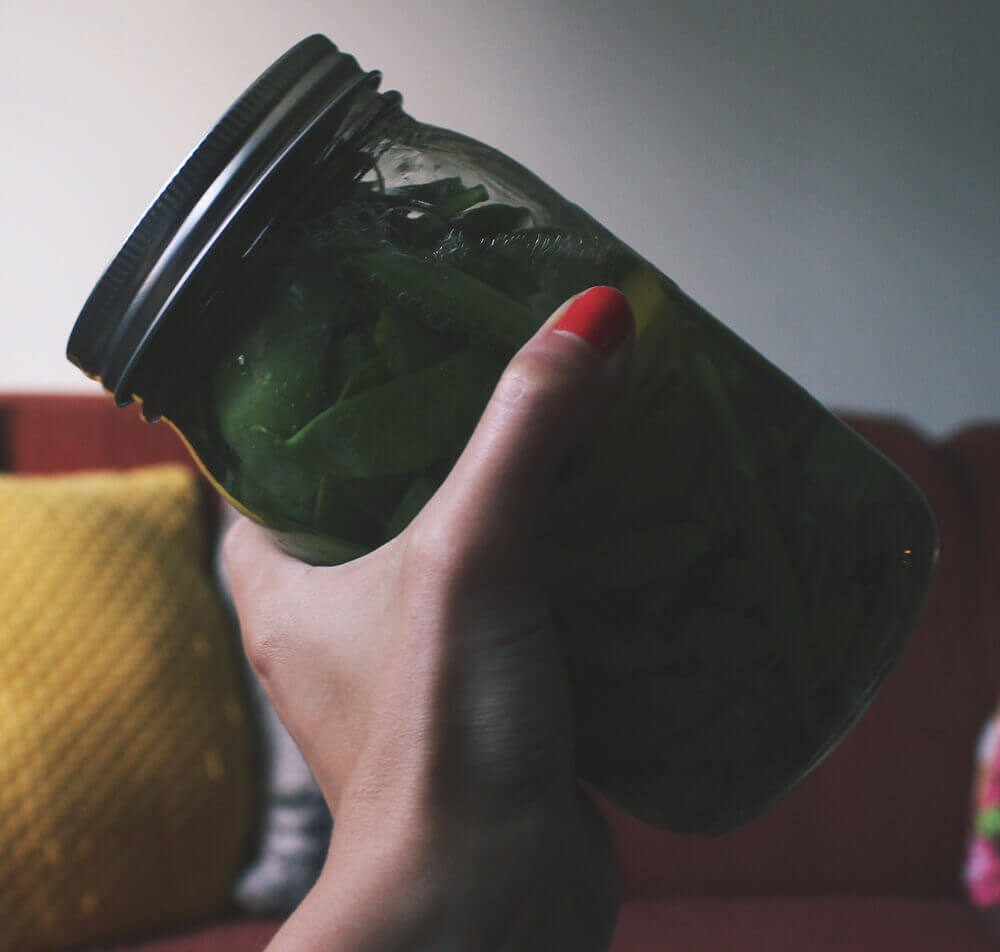
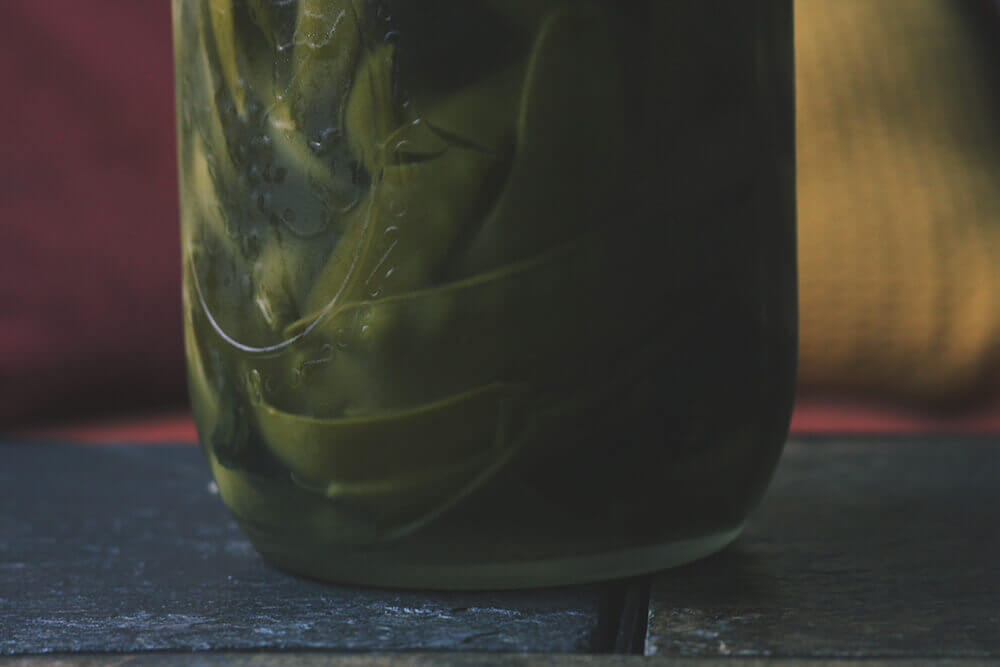
Last note- if you compare the top photo to the bottom photo you will notice a change of color. The top photo is of the peas in the beginning and the last two photos are of the fermented pickles. They get a little more yellow and lack a certain vibrancy.
If you are worried about the food spoiling instead of fermenting, look for bubbles. The bacteria produces gas byproducts so you will see little bubbles get trapped in the veggies. This is also why you never want to fully twist the top on jar unless shaking the bottle up.

- Snow peas- cleaned an trimmed*
- 1 lemon, sliced
- 2 tsp sea salt
- 2 garlic scapes or cloves
- thai or lemon basil
- 2 mason jars
- Water**
1 Make sure snow peas a cleaned of dirt, flowers, and trimmed where needed. I leave them whole, though you are free to chop them in smaller bite size pieces2 Divide the lemon between the two jars, include the rinds. Chop the garlic scape or cloves roughtly, putting one in each jar. Divide the basil leaves between the two jars, using about 10-20 per jar.3 Add a teaspoon of salt in each jar with a small amount of water. Screw the lids on and shake. The goal is to try and dissolve some or all of the salt.4 Take snow peas and cram as many in the jars. Once filled, pour more water in the jars until it covers over the peas. Screw the lids back on, and give it a shake.5 Unscrew the lid and let them sit loosely on the jar to prevent unwanted dinners (aka bugs). Do not fully close the jars as you do not want a build up pressure. If you are using glass jars it is possible that your jar could explode if too much pressure builds up. This will probably not happen for this recipe due to short fermenting time, but better safe than sorry.6 Each morning and night you will want to stir or shake your jar making sure that no mold grows. This also makes sure that any exposed peas will get dunked back in the water to get pickled.7 Taste a pea each day until you reached the desired taste. I found that 3 days is when the peas reach perfection. Temperature will make a difference as hot temperatures will accelerate fermentation.8 Once done fermenting twist the top back on and place in the fridge. They should last indefinitely in your fridge.
* I would guess I used about 1.5 lbs. Snap peas are also a great sub, in fact, I even used a mix of snap and snow peas in the jar.** Make sure your water is either bottled or has been sitting out for 30 minutes to an hour. You want to make sure the chlorine has time to dissipate so it doesn't kill the good bacteria.


Little Vegan Bear
Ooh, what a great idea – they sound delicious! Fermenting is the best – I’ve got some kraut on the go at the moment. I haven’t forayed too far into fermenting individual veggies – I do lots of kim chi, kraut and salsas but I am keen to try some more things like this. Yum!
Jennifer
I’ve been meaning to make a simple fermented salsa. Nothing fancy, just tomato peppers and onions chopped and brined. I use to make kimchi every year, but I got so backed up and had some kimchi in my fridge that was 2 years old! It was so tasty!